.svg)
.svg)
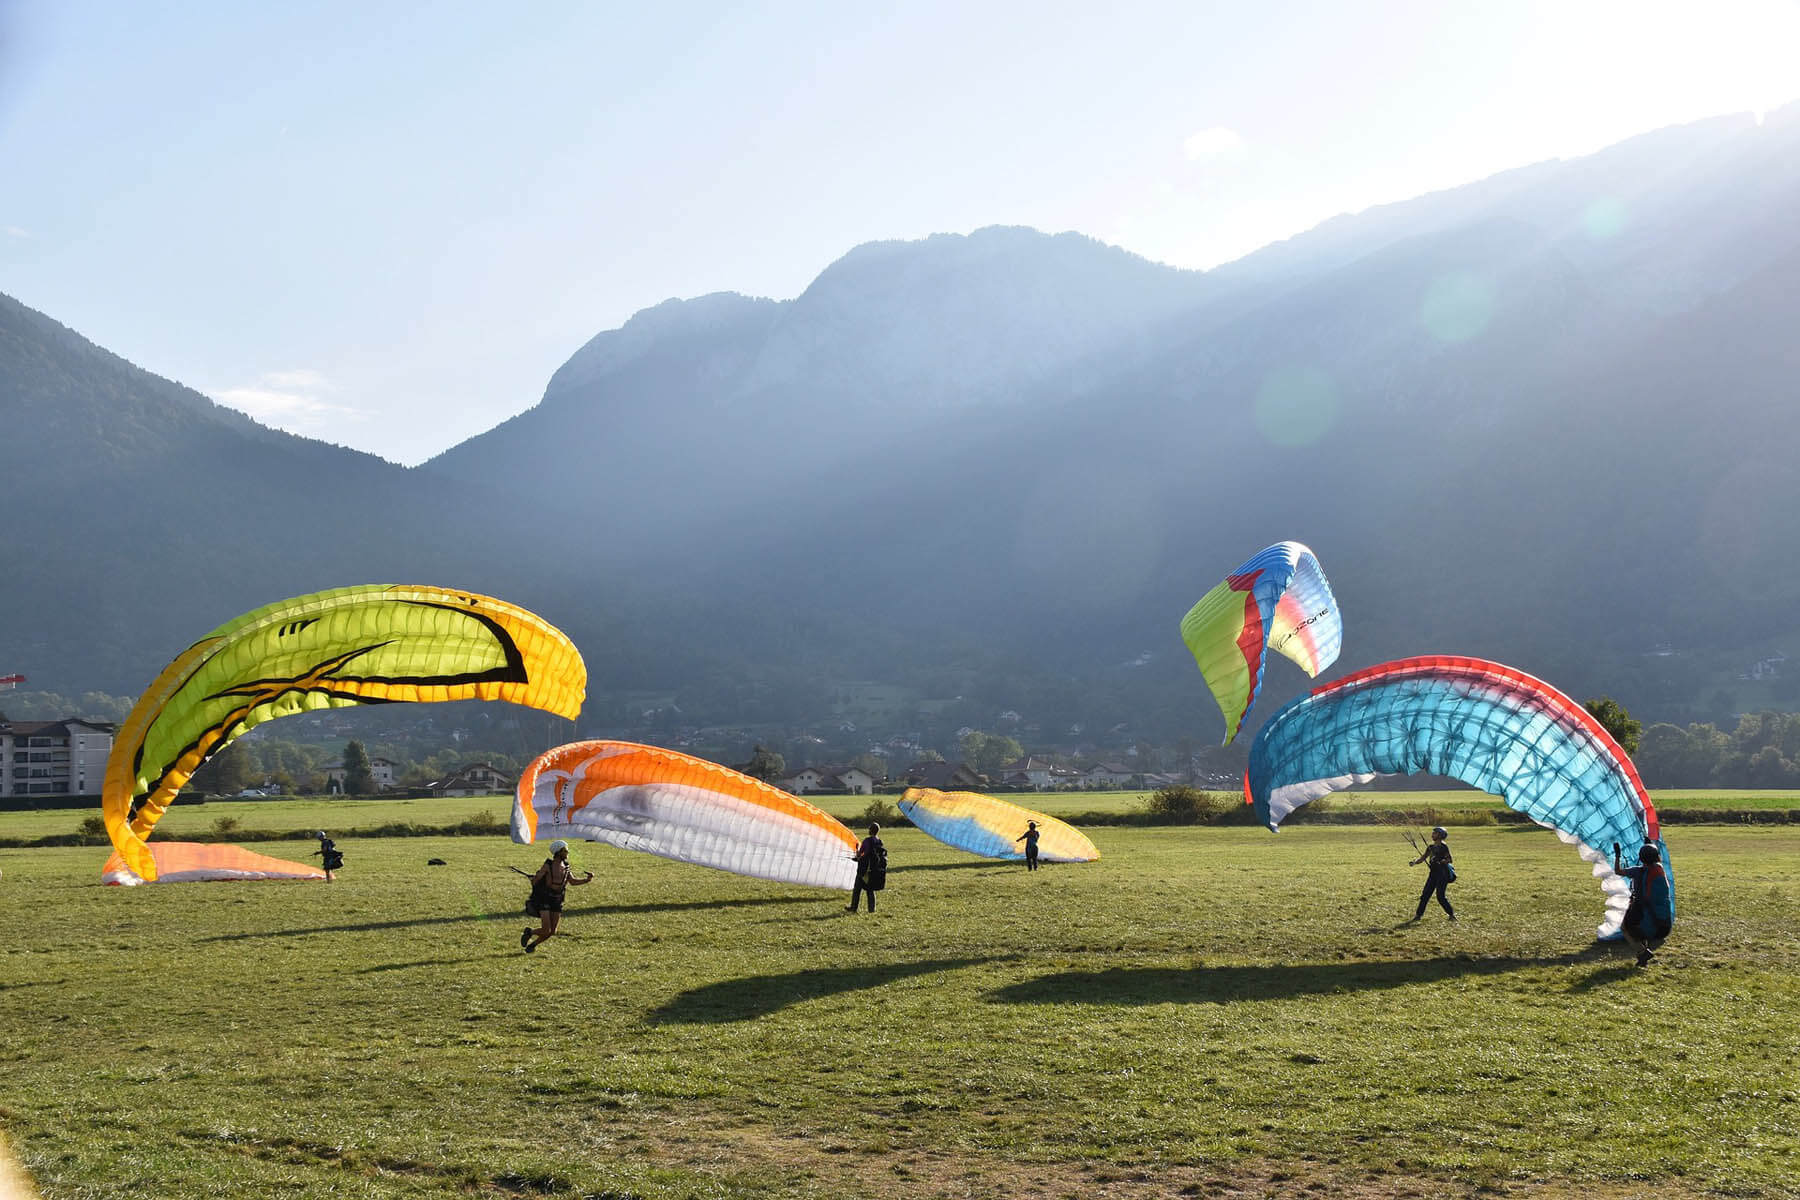
When you experience a paragliding flight above Lake Annecy or elsewhere, you're always amazed by the flight itself, feet dangling in mid air, perched up there as if by magic. You quickly realize that the pilot's skill is crucial to staying airborne as long as possible, avoiding other pilots, possibly performing acrobatics, and landing smoothly at the landing zone. But before anything else, even before leaving solid ground, a good pilot must carry out the inflation of the paraglider wing so it rises overhead and picks up speed. And while this stage may seem easy to a newcomer, it actually requires a certain amount of experience and specific inflation techniques depending on the weather conditions.
What is paraglider wing inflation?
Aside from specific designs like single-skin wings, a paraglider wing is made up of an outer fabric surface facing the sky, the upper surface, and a fabric surface facing the ground, the lower surface. These two fabric surfaces are sewn together to form cells open at the front, the leading edge, which let air in, and closed at the back. With such a design, it becomes clear that you just need to create a relative wind facing the wing for the cells to fill up and tension the canopy, giving it its final shape. That's paraglider inflation.
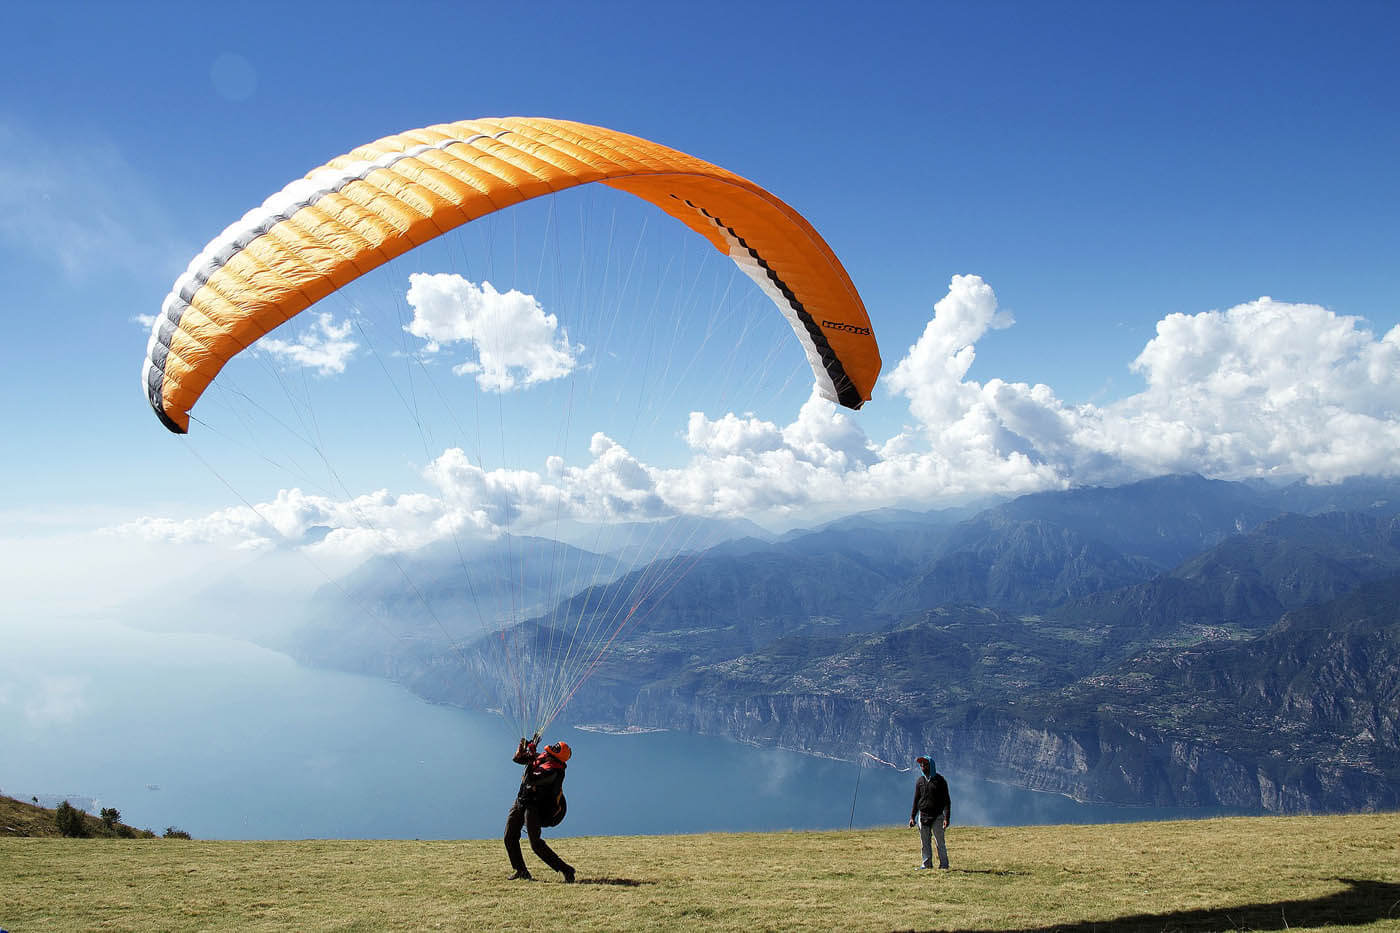
What is the maximum wind speed for inflating a paraglider?
To inflate a paraglider, you therefore need a relative wind coming from the front. This relative wind can be either meteorological or artificial in nature.Weather wind: the wind or breeze blows on the launch, you just need to lay the wing on the ground facing the wind for it to inflate effortlessly.Artificial relative wind: if there's no wind, you then need to run with your back to the wing to create an artificial headwind that will inflate the canopy the same way. It's simply the same principle as a kite, well known to children.In the end, a paraglider wing can generally be inflated from 0 km/h of wind up to 30 km/h. Beyond that speed, not only will it become technically difficult and dangerous for the pilot to try to inflate their wing, but the paraglider will also take off flying backward. Indeed, a paraglider wing's forward speed through the air mass is around 30 km/h. As long as the wind stays below that speed, the paraglider wing flies moving forward relative to the ground. If the wind picks up and exceeds that speed, the paraglider starts flying backward relative to the ground.It's also possible in some cases to take off in negative wind speed, meaning the wind comes from behind the launch zone. This sometimes happens early or late in the day when cool air suddenly drops down from altitude: this is known as a katabatic breeze. You then need to run even faster to make up for that extra speed difference. Beyond a few km/h of tailwind, it's no longer possible to take off at all.
Reverse inflation, the basic exercise of the initiation course
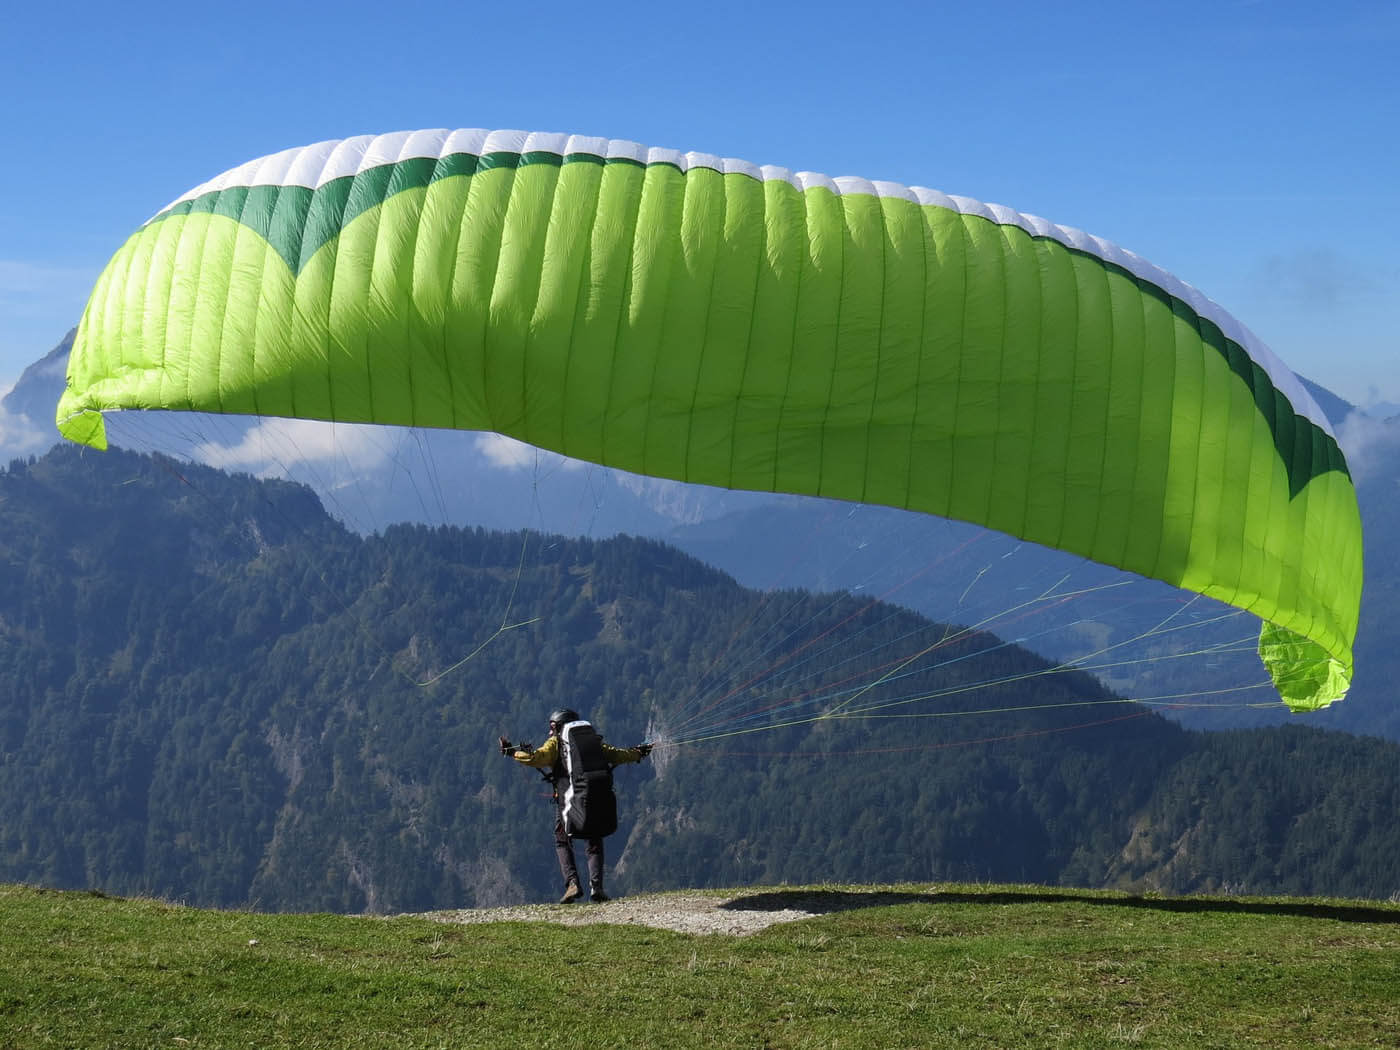
Reverse inflation is the first fundamental step for any aspiring paraglider pilot. This inflation technique is learned gradually on flat ground with a gentle slope, under the supervision of an experienced instructor. This type of inflation is one of the classic training slope exercises in an initiation course.Learning starts with simple exercises: correct body positioning, getting a feel for the brakes, and timing the wing overhead. Beginners first train in light winds of 5 to 10 km/h, or even none at all, to better feel their wing's reactions and learn to recenter correctly without letting it fly past overhead.Regular practice helps develop essential reflexes: reading the terrain, analyzing conditions, positioning the wing, and coordinating movements. These skills become invaluable during future takeoffs in the mountains or at official sites.
Forward inflation, facing the launch
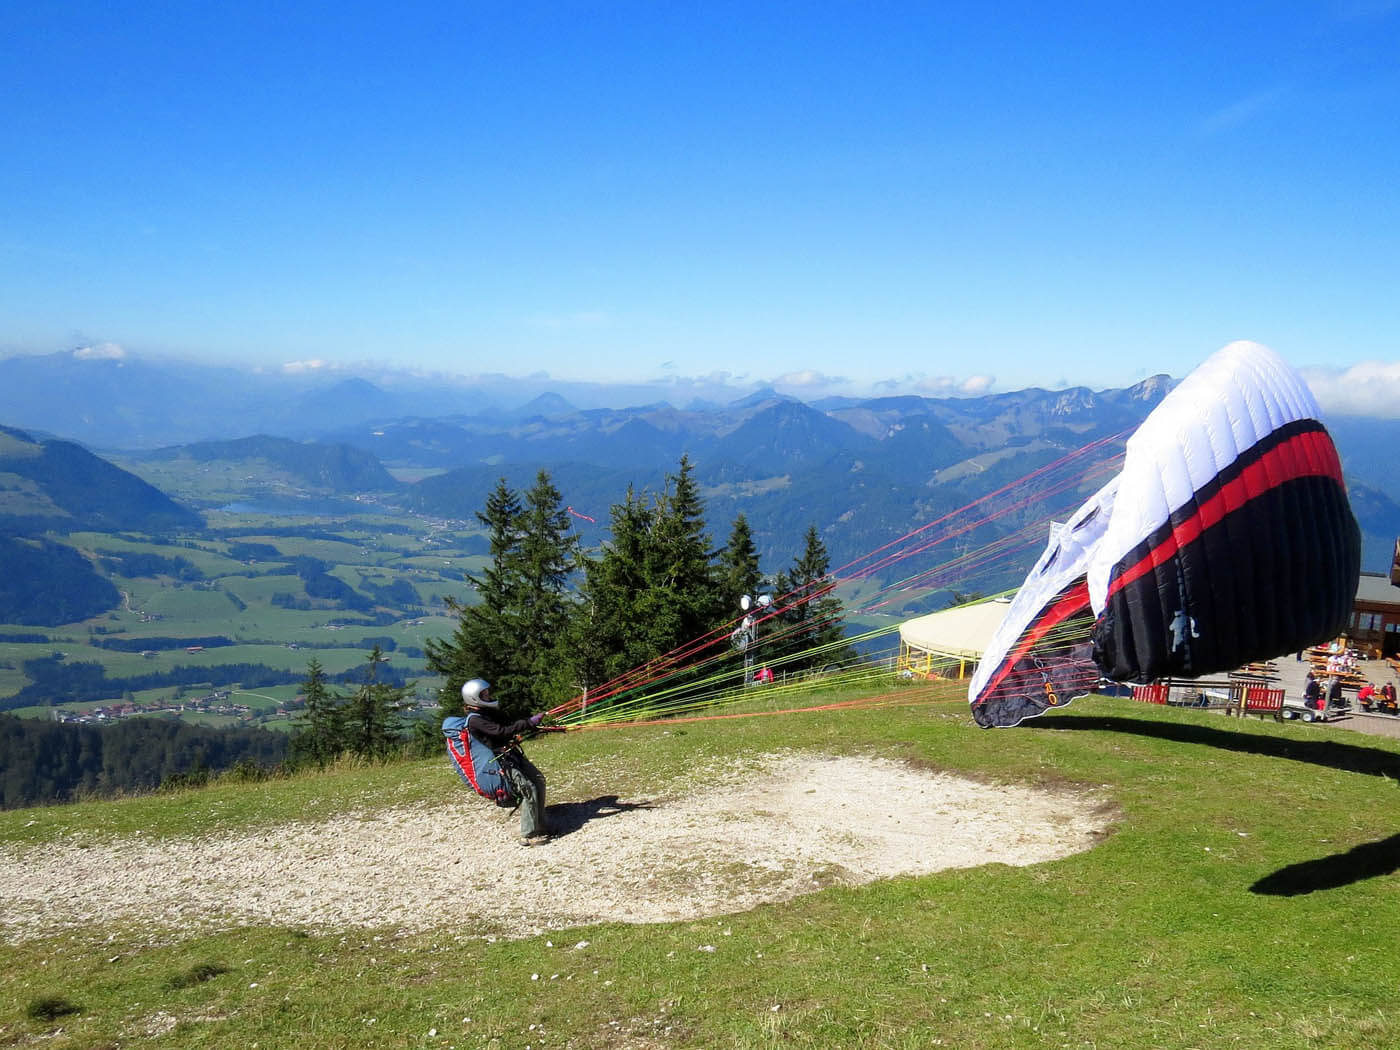
When the wind on the launch exceeds 10 km/h, you can switch to the so called forward inflation technique.This inflation method involves turning to face your wing, doing a half twist at the lines.Rather than running down the slope, you just need to put a little tension on the front risers so the leading edge catches the wind and the cells inflate. It's important to keep the brakes in hand in case the wing needs to be brought down. The force applied to the front risers should be adjusted based on the wind strength and the desired effect. A light action will produce a pre-inflation, with the wing taking its final shape and settling back on the ground ready to fly, while a stronger action will make the wing take off directly.The wing will then pick up speed and needs to be stopped directly overhead, or risk flying past and causing a frontal collapse. It's therefore important to apply a timing action at the right moment to properly settle the wing in place.Once the wing is stabilized overhead, the pilot begins the crucial turnaround phase. The brakes stay in hand while the body rotates 180 degrees to face the slope. This rotation is done smoothly to maintain the wing's balance. Before performing this maneuver on a real launch, it's essential to train with your wing on the ground on a training slope so the turnaround becomes instinctive. Special attention should be paid to the direction of the turnaround, since turning the right way frees up the risers by undoing the half twist, whereas turning the wrong way risks a full twist as you come out of the launch.Success with this forward launch maneuver rests on three key points:
- Precise timing
- A centered position beneath the wing
- Anticipating the run up
This stage requires coordination and a good read of the terrain to flow naturally into the run up and takeoff.
The window edge technique for strong wind: the cobra
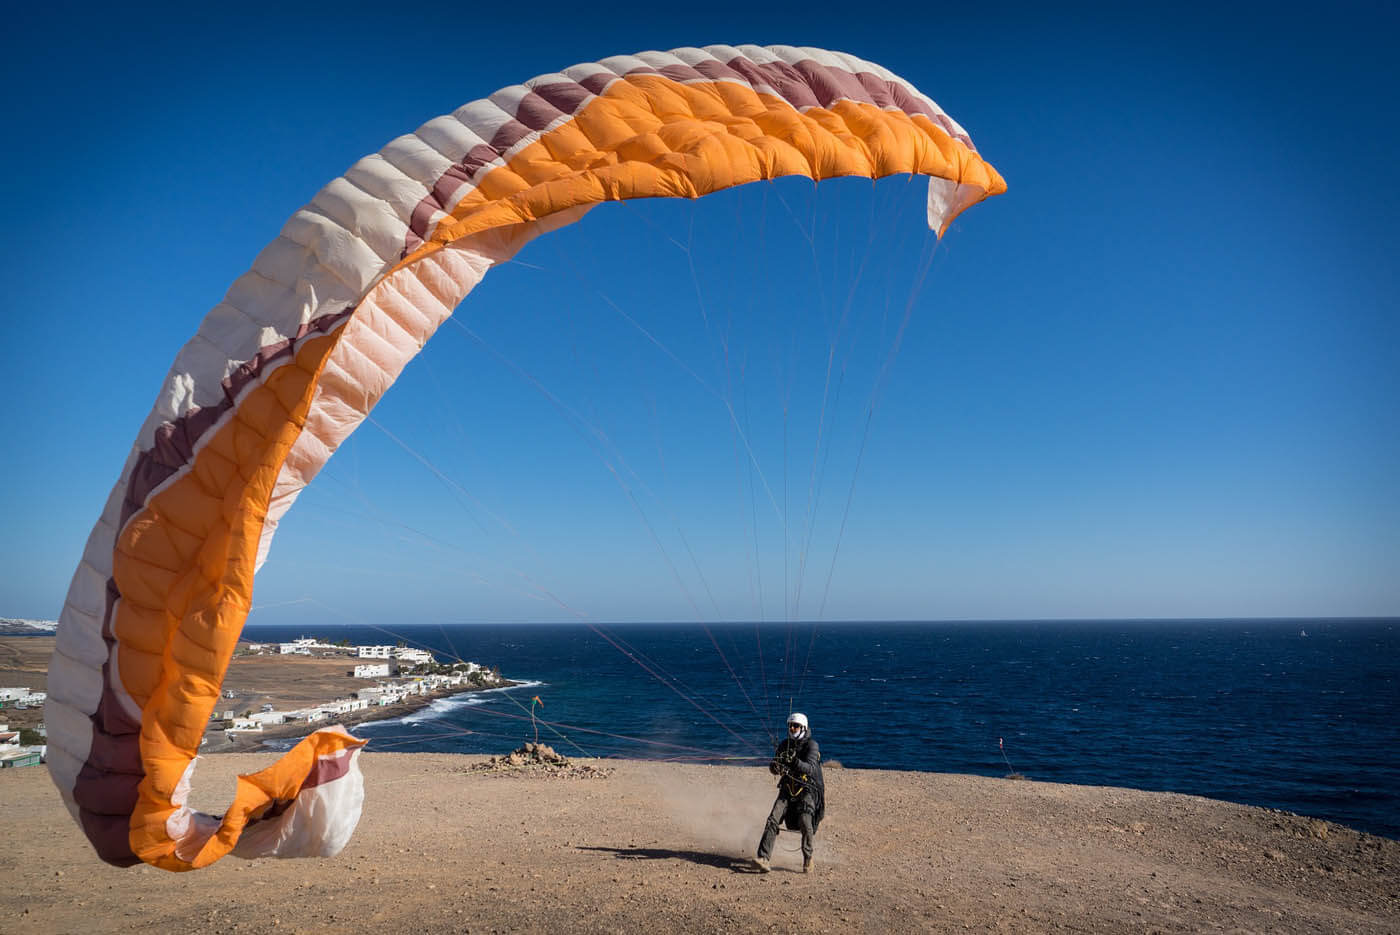
Cobra inflation is a solution suited to sustained wind conditions. This method involves positioning the wing perpendicular to the wind, starting by raising the stabilizers. The wing then gradually unrolls from the ground toward the sky in the least fed zone. Once fully inflated vertically, you just need to let the paraglider slide overhead.The major advantage of cobra inflation lies in significantly reducing the pull exerted on the pilot that happens with forward inflation. Here the wing rises gradually from its tips, allowing optimal control even with gusts exceeding 25 km/h.The pilot's precise movements play a decisive role: a slight pull on the windward front riser starts the inflation, while the other hand stays ready to control timing. This approach ensures a controlled rise of the wing, considerably reducing the risk of being pulled off your feet.
Where can you train to practice inflation?
To work on your inflation exercises, you can use a training slope in your area, or a landing zone with a dedicated area for inflation practice. You can also use other landing zones when poorly oriented weather conditions prevent any pilot from taking off in the area.
Our tips:
The inflation stage is a crucial moment before launching into the air. It's important to train regularly in a safe environment to stay calm during a real launch, whatever the wind conditions. Reverse, forward, or even cobra, you should be able to manage your wing's inflation without being pulled off your feet, with the wing stabilized overhead.